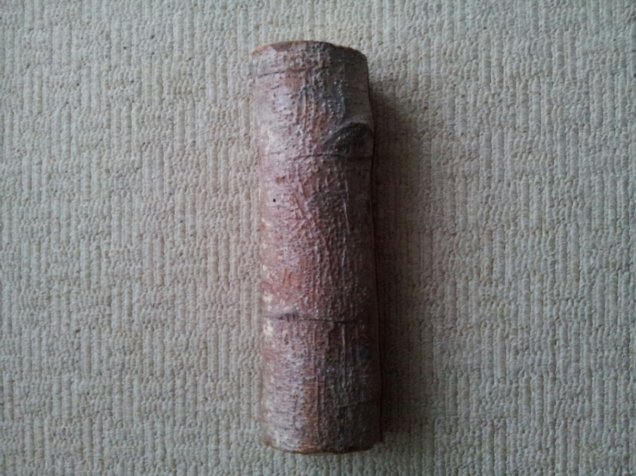
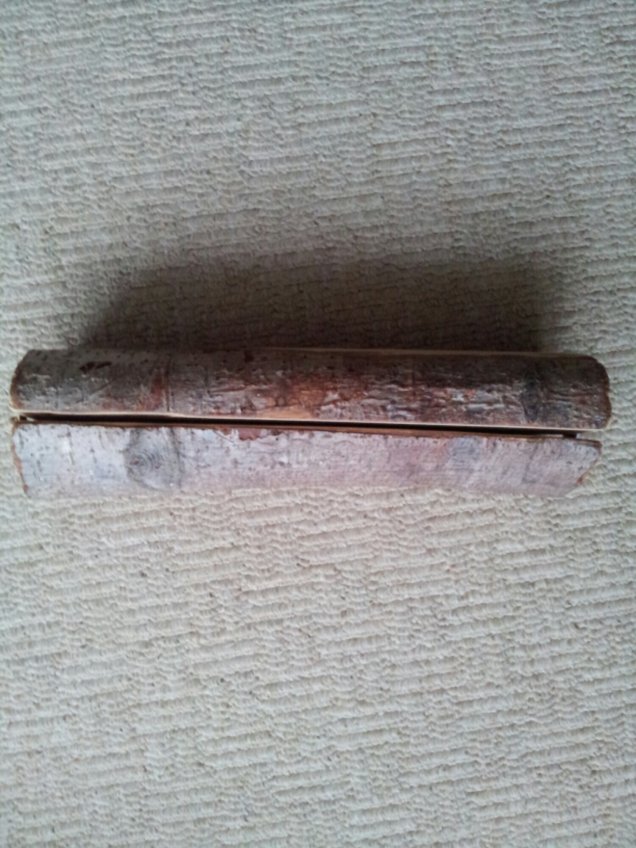
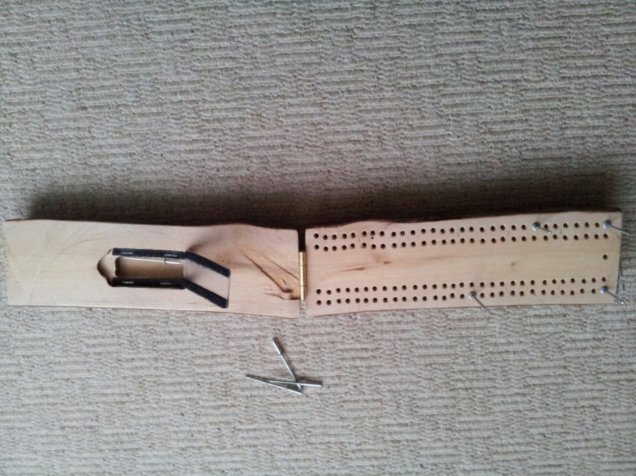
Making the crib board really captured my imagination, but it took a while for my next project to form and develop.
The idea started developing when we downloaded a Backgammon game for the Blackberry, Mrs J and I downloaded the game and started playing the AI and then each other and we came to the conclusion that instead of playing on a small screen we would probably enjoy play a real game opposite each other! Pah who needs technology!
As with the Crib board I started the backgammon board over the Christmas holidays a year after starting and finishing my first project.
Instead of using a log and using natures natural form to create a covert game I used the following materials:
Two laminate floor boards
10mm wooden beading
Hinges left over from the making of the crib board
A clasp ‘reclaimed’ from an old tool box.
For two days I was back in the garage forming the materials into a box, scoring the points (triangles on the board).
By the end of the second garage day I had the base shape, and then I have to admit thats where the project stayed for 18months!I don’t know why or what made me stop when I was passed the hard bit but I just stopped.
When ever Mrs J asked when I would finish the board my usual response was ‘I’ll get round to it’.
I never did.
Then after our honeymoon, after feeling relaxed and enjoying married life, this happened:
I went to the nearest DIY shop and bought some paint testers. I had caught the bug again, the enthusiasm was back.
I ended up sending the colours to family and friends to see what the general consensus for the best colour combo was and ended up choosing these:
I really liked he way the light orange and the dark blue stood out on the light wood. I masked, painted and filled the front room with paint smell for a few nights, finally I was brave enough to remove the masking tape.
To finish the game board I treated it to the softest steel wool to remove the bobbles and treated the board to a generous helping of varnish.
Now for the outside! I opted for an all surface paint, this was a good choice for the board finish but not a good idea to paint the board in the front room, at night, with no ventilation! Headaches kicking in the door and stayed till the smell had completely disappeared!
The real sticking point was the checkers, I had not learned the lessons from Project #1, its best to find the pieces or at least choose a standard size for your proposed checkers that you could possibly in standard circular sizes.
I made the mistake of assuming that I would easily find the exact sized circles I would ned. Wrong!Unbeknownst to me my FiL (Father-in-Law) had seen this point comming, approximately 18months before I got to this point and then subsequently lost interest. FiL had been looking in a toy shop for playing cards to fit in the storage box he had just finished when he found just the parts required for the board and had kept them till the backgammon board was nearly complete.
Fast foward to 18months later, after the relaxing honeymoon and mid way through the paint induced headaches FiL and I were talking and the immortal words ‘I think your ready for these now’ were said.
FiL proceeded to hand over two draught piece boxes that had been sat in storage in the dresser for quite a while.
They were bigger than was needed but this was when the engineering experience came into practice.
‘Use your bench grinder’ FiL said,
‘What bench grinder?’ I asked confused,’The bench grinder you bought 18months ago, its been in garage with the pillar drill for the last year!’ FiL updated.
‘Oh’ I responded positively.
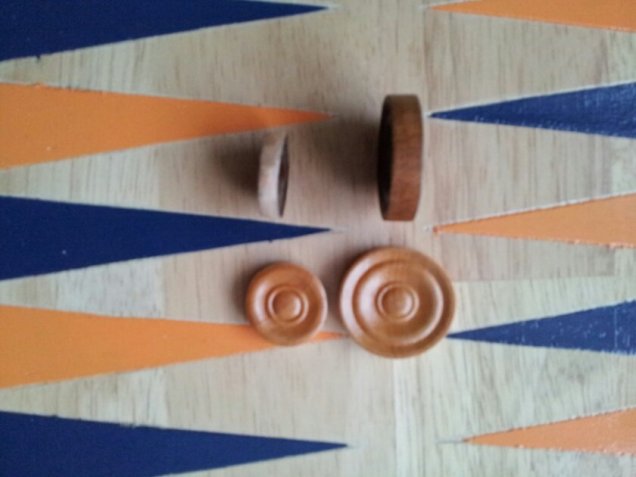
After a quick lesson I went off home with tool, draught pieces and enthusiams and spent the next day grinding the pieces down to the size required.I can smugly say I only tried to reduce he circumference of my fingers twice!
The checker transformation:
A quick walk to the local independant toy shop, some printing and laminating of the set up picture the board was finally finished!
Since finishing the board, Mrs J and I have played few games and I am prouxd to say my loosing streak continues, I lost the first three games played!
The board has travelled with us over the Christmas holidays and is best described as a Sunday afternoon game, the type of game where your happy playing whilst relaxing and competion doesnt really come into it, he enjoyment of playing does.
For me this project made me realise that sometimes there will be projects that will make you think, and there will be areas that could be tricky to overcome BUT if you plan and research things should turn out how you expect!
Till next time!
J


